How it works
How to arrange passport photos for printing
Add a prepared portrait, choose the photo and paper sizes, then download your print sheet.
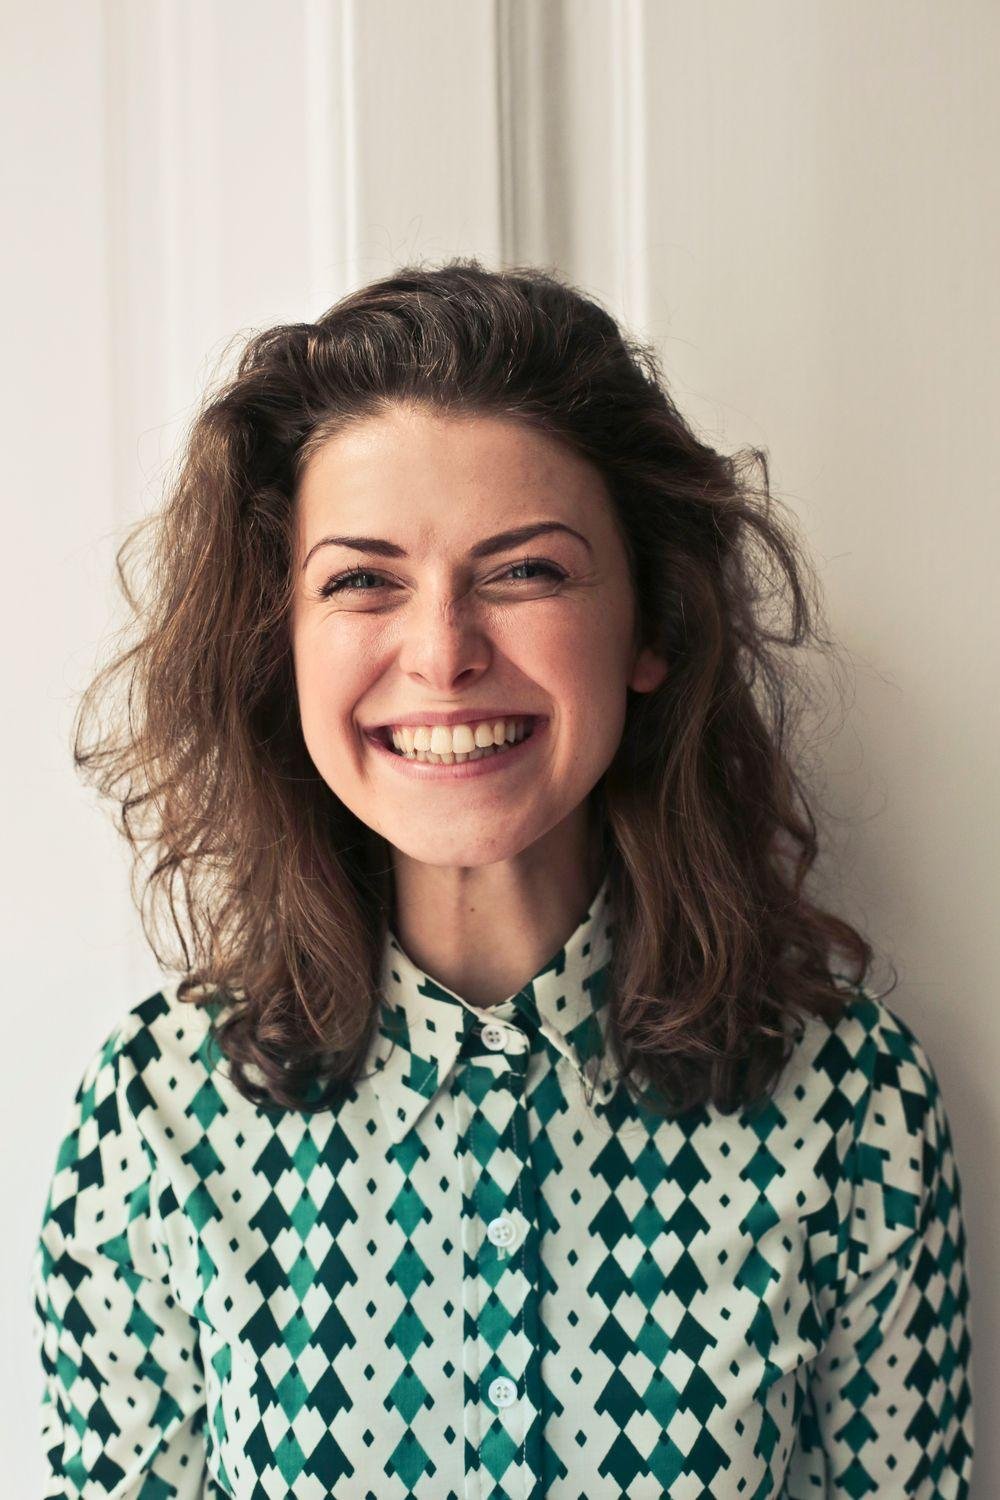
Add the prepared photo
Use a clear, front-facing photo. Remove the background first if your application requires a different background.
Choose photo and paper size
Select the required photo dimensions, adjust the crop and choose A4, Letter or 4×6 paper. Check the face position and margins.
Save and print
Download the single photo or PDF/JPG print sheet. Print at actual size or 100%, then measure a printed photo before cutting.
Understand your result
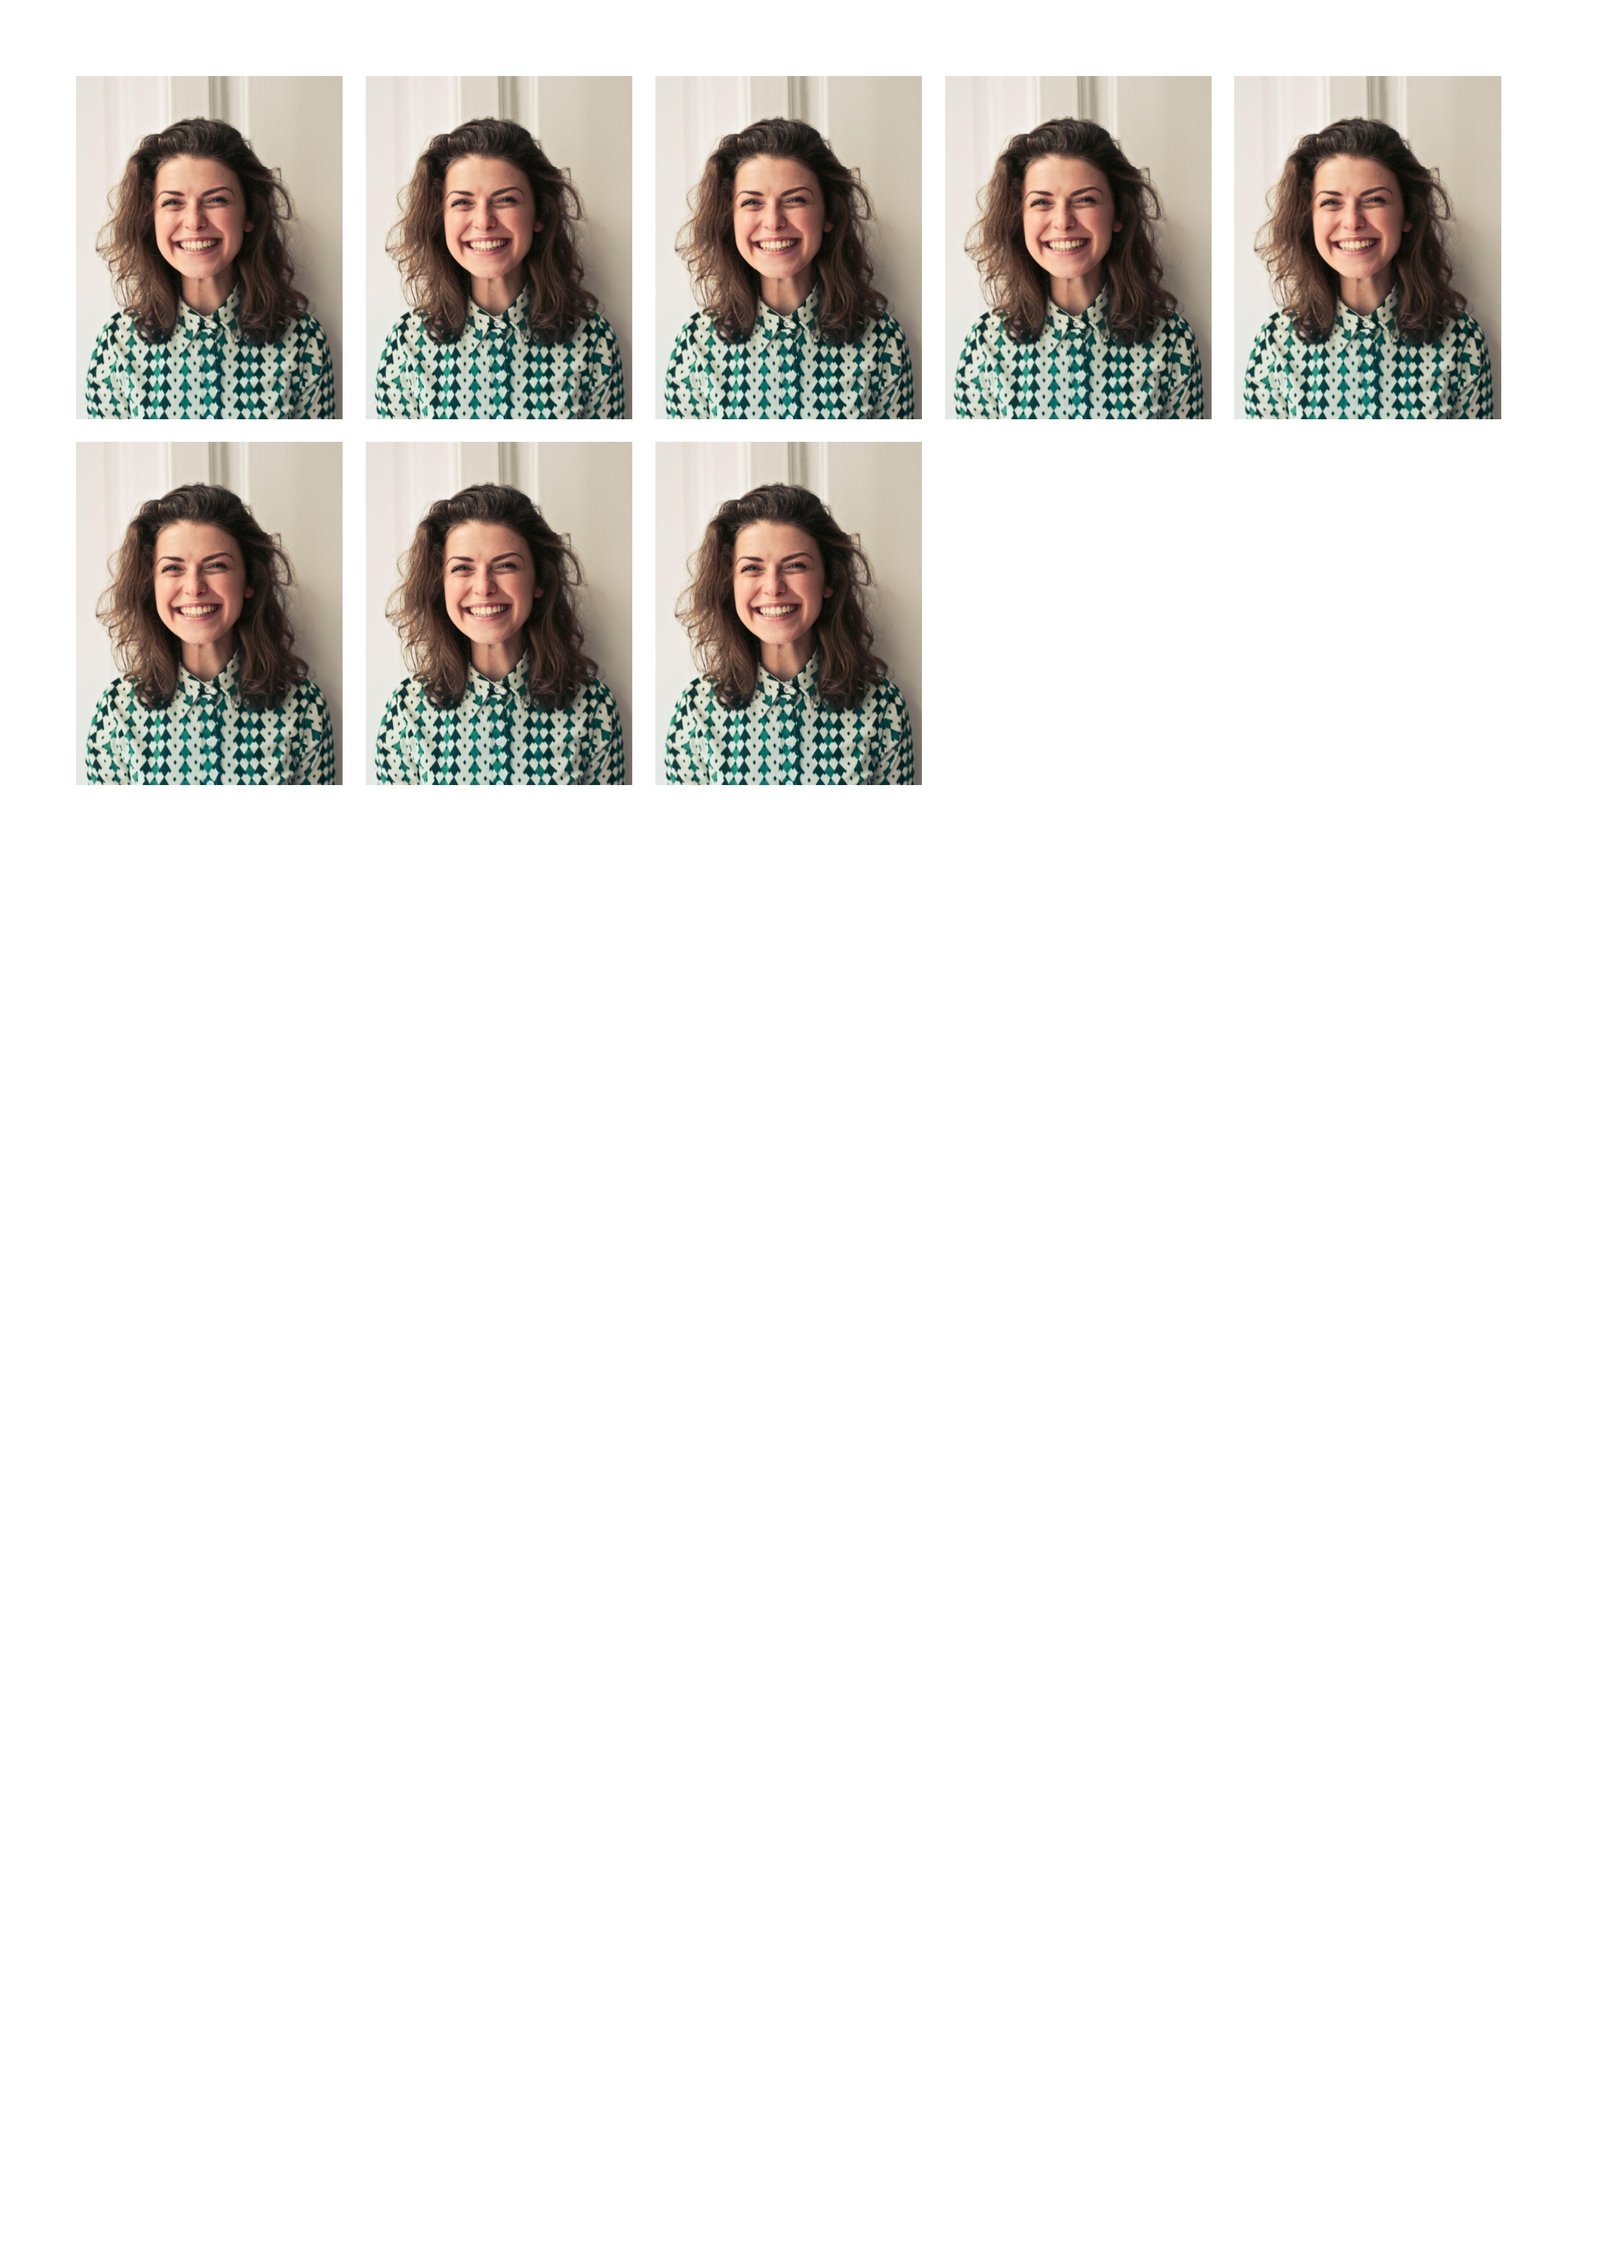
One photo, arranged for printing
Choose the photo dimensions and paper size that match your requirements. Check the sheet before printing at actual size.
Compare the photo dimensions with the official application requirements. A print sheet does not guarantee acceptance.


Actual sample output · Photo from Pexels. Your settings and photo will affect the result.
Example photo: Pexels source photo, used under the Pexels licence. The example illustrates settings; it is not an endorsement or an acceptance guarantee.
Before you save
- Use the dimensions requested by the application, rather than assuming every passport or visa accepts the same size.
- Disable Fit to page or automatic scaling in the print dialog when it would change the intended measurements.
Common questions
Does the tool guarantee an accepted passport photo?
No. Check the authority’s requirements for pose, lighting, background, dimensions and any restrictions on image editing.
Why is the printed photo the wrong size?
Printer settings may have scaled the sheet. Select the correct paper and print at actual size or 100%, then check it with a ruler.
Can I download just one photo?
Yes. Use the single-photo JPG option rather than the full print sheet. The sheet options are for several copies on the selected paper.